Removing window film is a straightforward process if you have the right tools. However, it is getting the right tools and using them correctly, which often causes frustration. Luckily, you can learn about the proper tools and the correct steps to take, right here!
The first part of removing your 3M window tinting is to gather your tools. Here is a shortlist of the supplies you will need:
- Ammonia-based cleaner
- Warm soap and water solution
- Heating gun, hairdryer, etc.
- Scraper, flat razor tool
- Can-do attitude
- Spray bottles

The Process of Removing Window Tinting
1. Spray the window
The first step in the process of removing your 3M window tinting is spraying the window. Use your ammonia-based cleaner here, and remember, you can never use too much. The purpose of spraying the window is to denature the adhesive, so the more you use, the quicker it will go.
2. Let the Cleaner Sit
Next, leave the cleaner to sit on the tinted window for about an hour. If you can leave it for longer, that’s great. Similarly, if you are in a rush to finish the job, moving onto the next step will work, but it might make the job a bit more challenging.
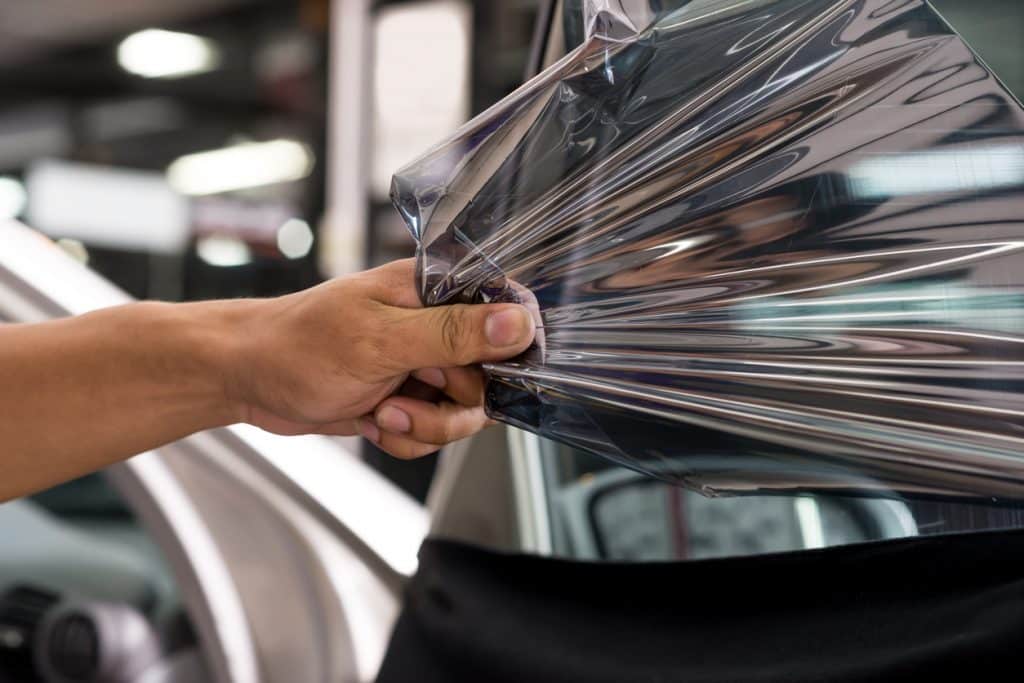
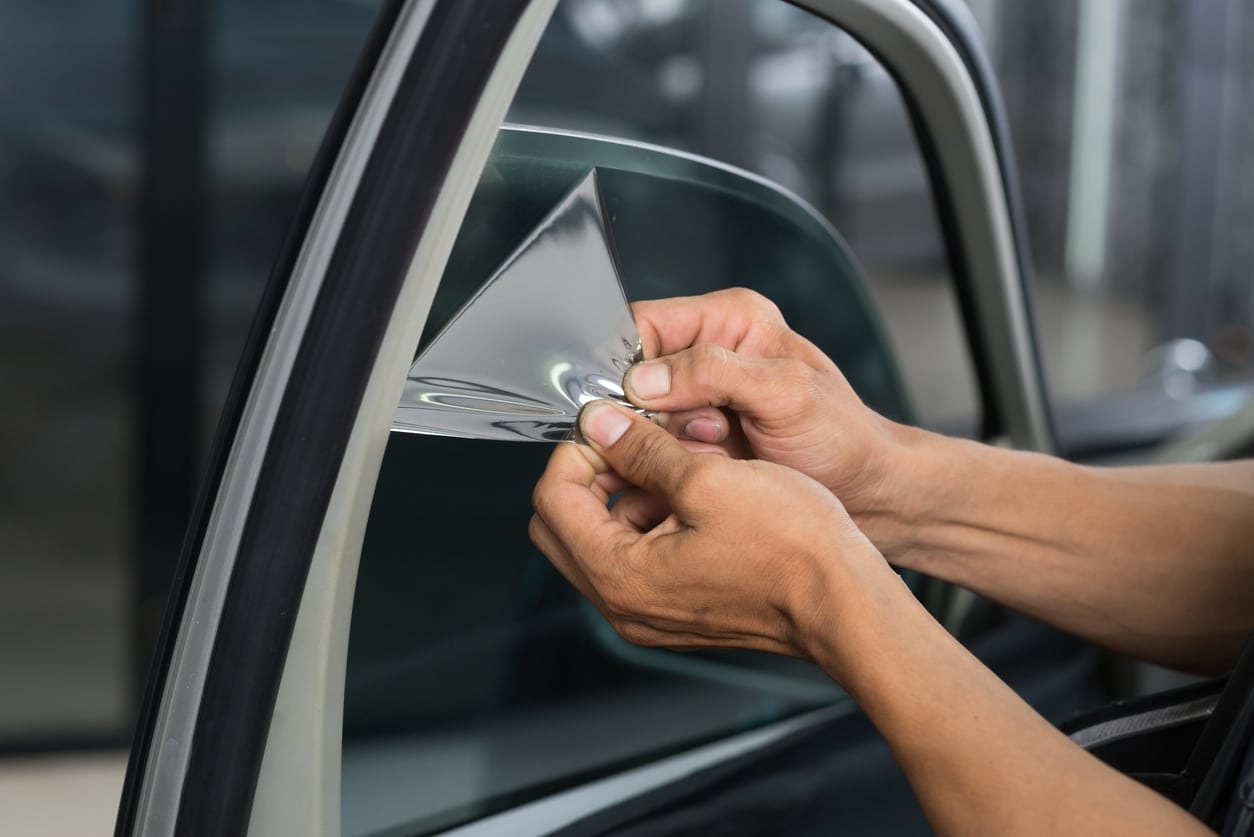
3. Peel the Window Tinting
Just like a new piece of consumer technology, you can now begin to peel off the tint. At this stage, you want to start at the edge (ideally corner) of the sheet and work your way along the whole piece. For an even easier peel, consider leaving your vehicle outside and peeling during the warmer part of the day.
However, you should also begin slowly and observe how the window looks after the removal. If you see the adhesive remain on the window surface, consider moving onto the next step instead of continuing. Likewise, if you notice the peeled-away tint is clear, stop and move onto the next step.
4. Utilize the Heat Gun
You can follow this step if you are experiencing the issues above, or even if you are just worried about the potential gunk that may be left behind. The process here is simple. Instead of the ammonia denaturing the adhesive, you are heating the adhesive until it becomes semi-liquid again. Therefore, you should notice a distinct difference as you pull the tinting material away from the glass, once it is warm enough. Please follow all safety precautions for distance, as per the instructions from the heat gun manufacturer.
5. Clean Up and Inspection
After you remove the tinting material, you are finally in the home stretch. Inspect the window for smudges or remaining adhesive, and use your soapy water solution to wipe it away gently. Finally, once you are satisfied that the job is complete, stand back and admire the reflection of an independent, capable person in your freshly cleaned window.
Remove Window Tinting With the Experts
Alternatively, you can leave this process to the professionals. At Pro Window Tinting, we have all the tools to install and remove your 3M window tinting. Feel free to drop in and ask us questions or receive a quote for your vehicle.
With over 15 years of experience, Pro Window Tinting is proud to offer high-end automotive window tinting to all the people of Calgary. Give us a call at (403) 891-5980 today and experience the best service in Calgary.

